Building the future
SCANNING PROBE
Scanning Probe
Automatically acquires data points between
user-defined start and end points -
regardless of surface complexity
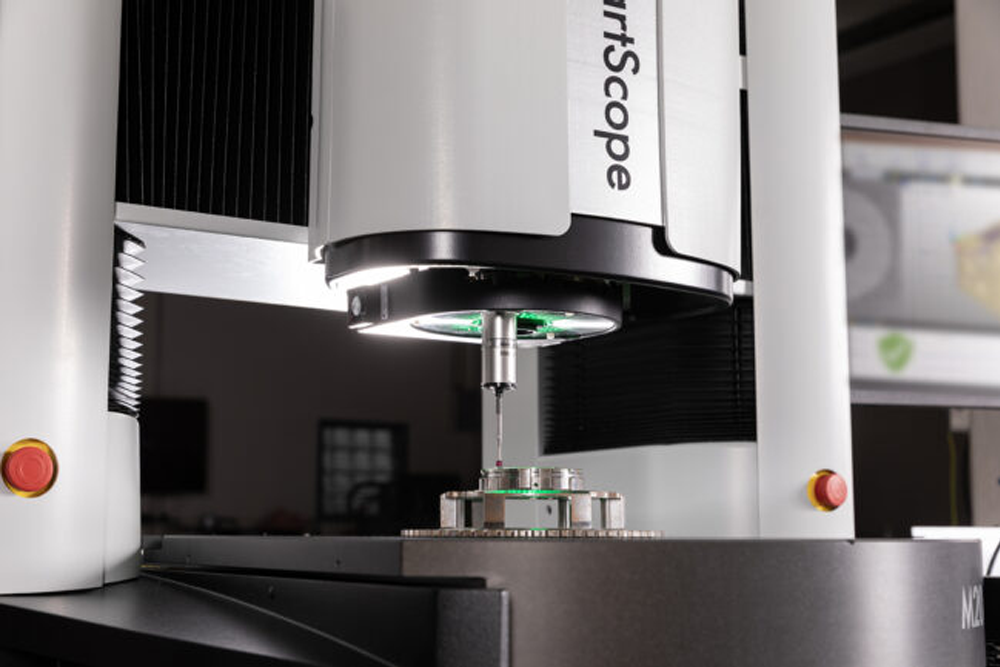
Add contact contouring capability to your OGP system with the SP25M scanning probe. Easy to use, simply select a start and end point and the scanning probe follows the part profile between those points.
Using intelligent algorithms, ZONE3® metrology software drives the probe, rapidly following the part contour and collecting data points at a user-defined velocity and data sampling rate. The scanning probe automatically adjusts point density when the probe is rounding curves. Both programming and measurement times are greatly reduced compared to single-point probing.
Scanning probes on SmartScope systems are mounted in fixed positions offset from the optics and can optionally be incorporated with automatic deployment mechanisms and articulating heads on select systems.
Optional change racks allow for different probes to be automatically exchanged within a program without any operator intervention. Kinematic mounts allow for change racks to be taken on and off without the need to relocate afterwards.

Technical Data
let's get connected
Have a Question?
Lorem ipsum dolor sit amet, consectetur adipiscing elit. Maecenas sit amet sapien ante. Donec sollicitudin libero bibendum risus venenatis imperdiet.
